Most of the trilobites we find are packed in solid limestone rock or 'matrix'. In many cases, the trilobite is found by splitting this rock and examining the freshly exposed faces for trilobite cross-sections. Once a cross section is found, it is carefully examined to determine the kind of trilobite, the preservation and completeness, and how the animal is positioned within the rock. After carefully marking and documenting the find, it gets a place in a collection of unprepared specimens. An archive, if you will.
|
When a specimen is selected for preparation it is again examined for identification and to determine the position in the rock, not to overlook unexpected spines, or perhaps other features that were not observed in the field.
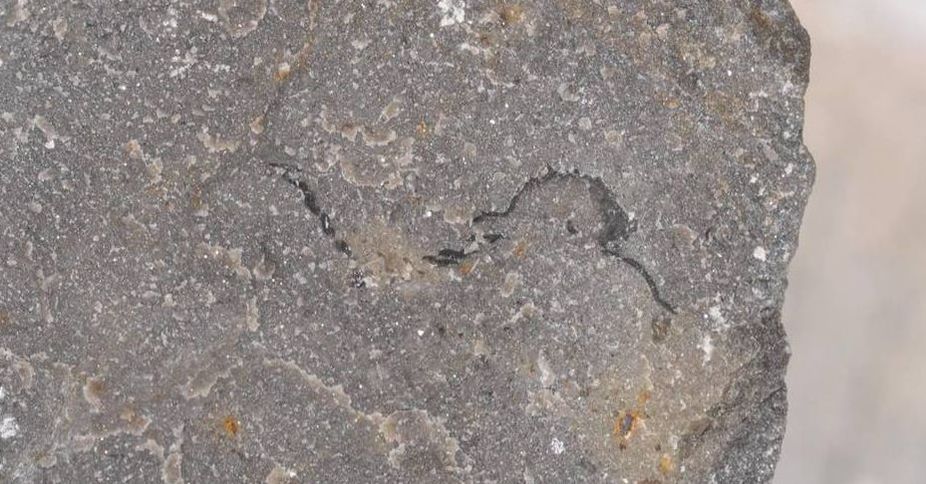
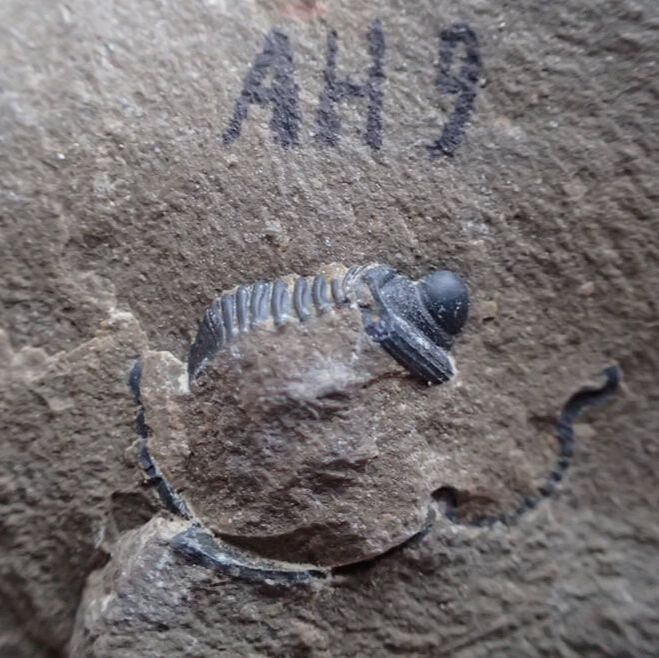
Here, we see a Cyphaspis as found in the field. The head or cephalon shows the characteristic 'strawberry' pustulose glabella in (subsagittal) cross section, and is pointing to the right in this picture. Hence, the tail section or pygidium is pointing to the left. The trilobite is in a hollow back position. The other side of the trilobite is in a separate stone that will be glued back at some stage in the course of the preparation. |
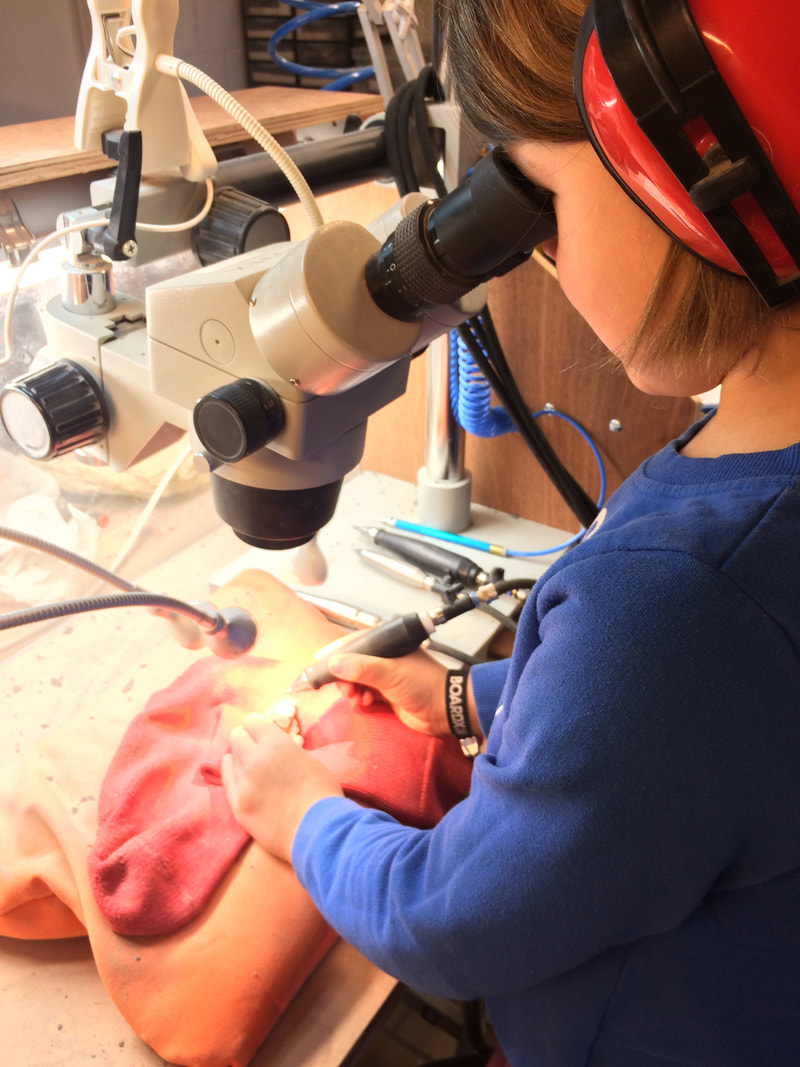
The preparation is mostly done with fine, specially designed pneumatic needles and micro air abrasive systems. These tools are used to carefully chip or blast away small parts of the matrix surrounding the fossil. Great care is taken not to damage the fossil, while preserving the finest details. This work takes experience and patience, and it is not unusual to work on a single specimen for dozens of hours.
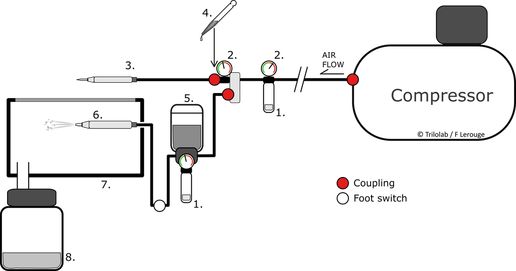
This schematic shows a simplified preparation setup: a compressor provides pressurized air (at least 8 bar). The air is dehumidified (1) and the pressure is regulated (2) to suit the requirements of each individual tool. Both pneumatic neeldles (3) and air abrasive units (5) can be coupled to the system. The air abrasive work is done in a suction chamber (7) with dust extraction (8). All work is done under a binocular microscope.
|
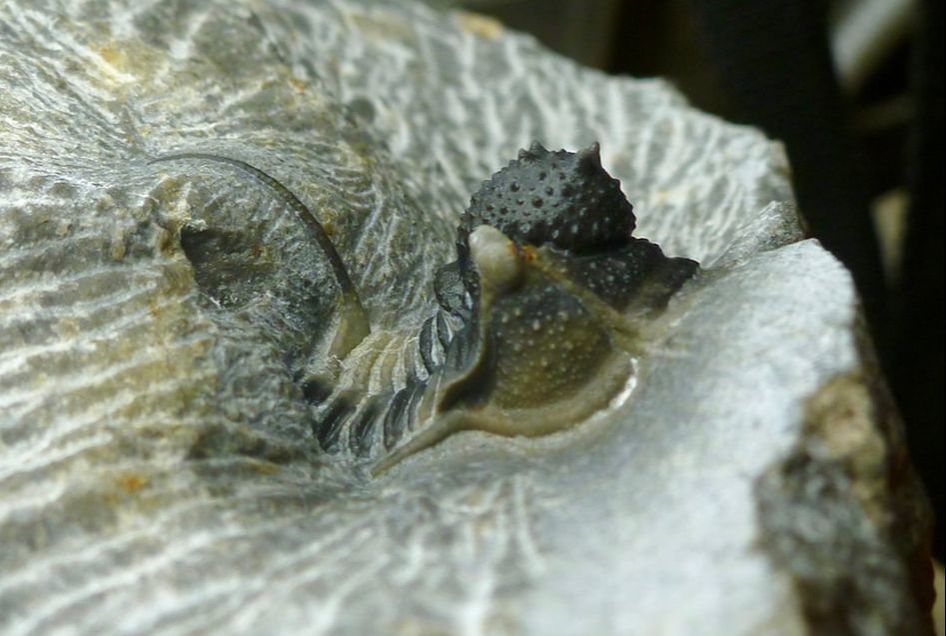
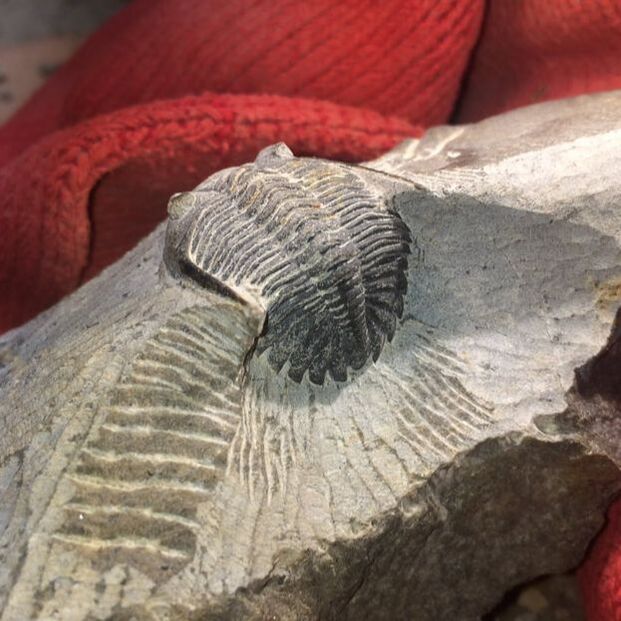
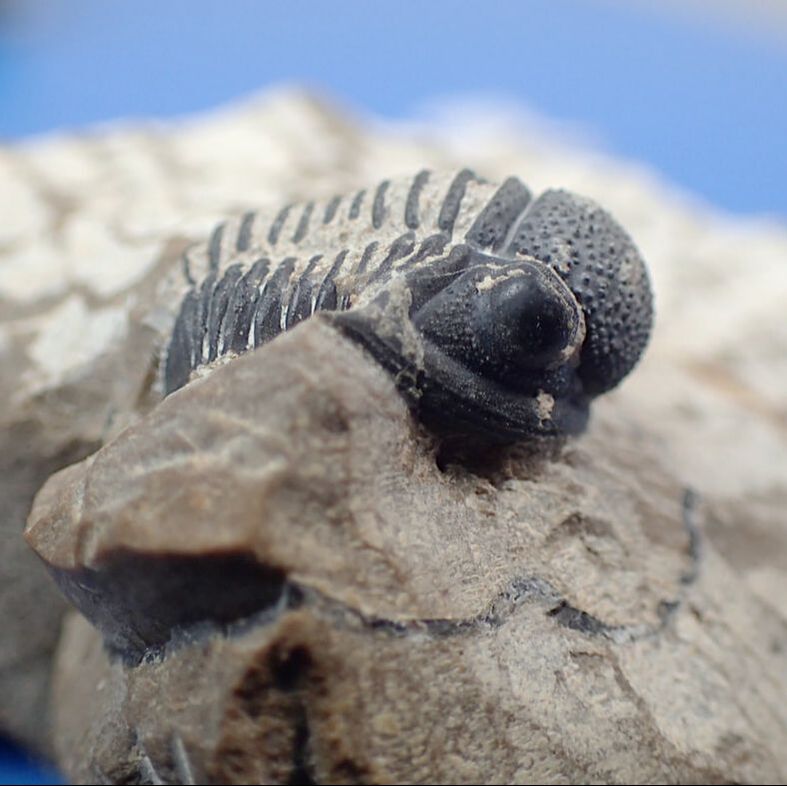
During the preparation process, all pieces of matrix are reattached, and the pneumatic tools are used to carefully chip bits of matrix off, without damaging the actual fossil. To the left, we see the progress on the Cyphaspis: the exact position of the dorsal and genal spines is determined, and the preparator is moving in on the tail section or 'pygidium'. All of the work is done using pneumatic needles of different sizes and power, leaving whitish scratch marks on the matrix.
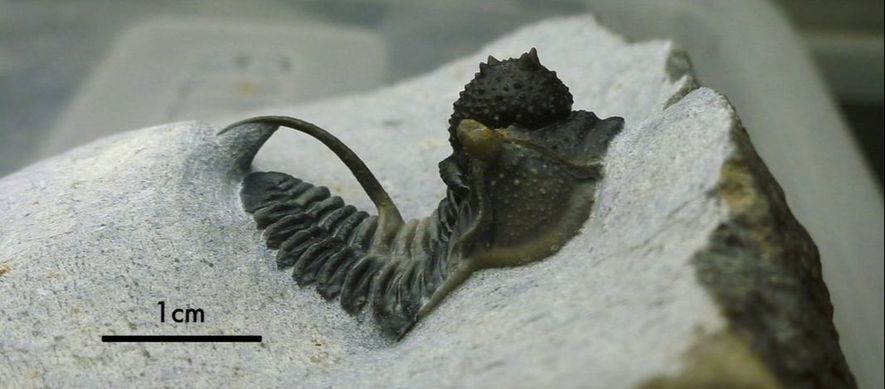
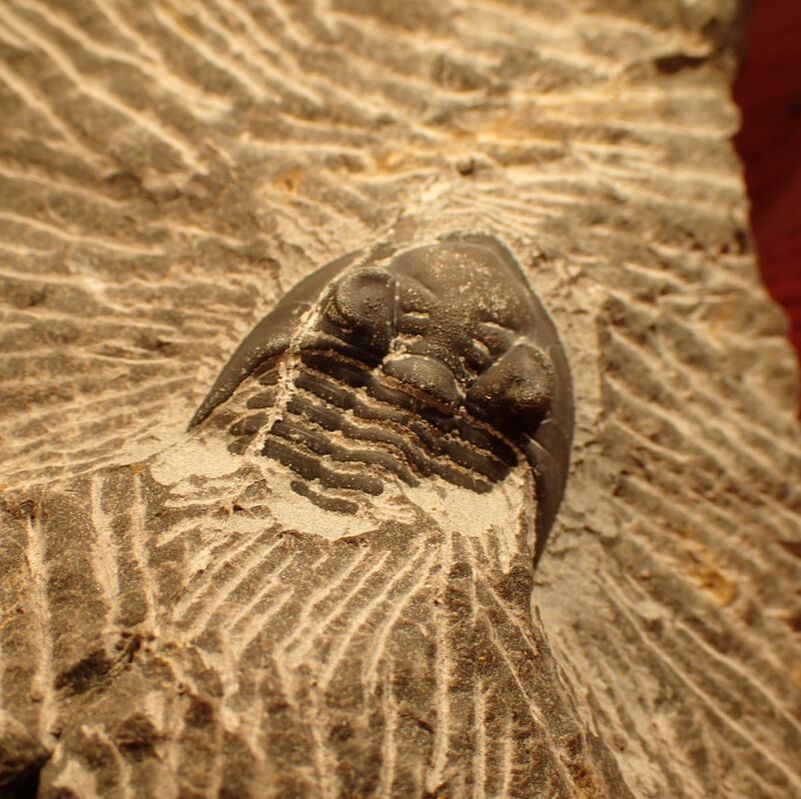
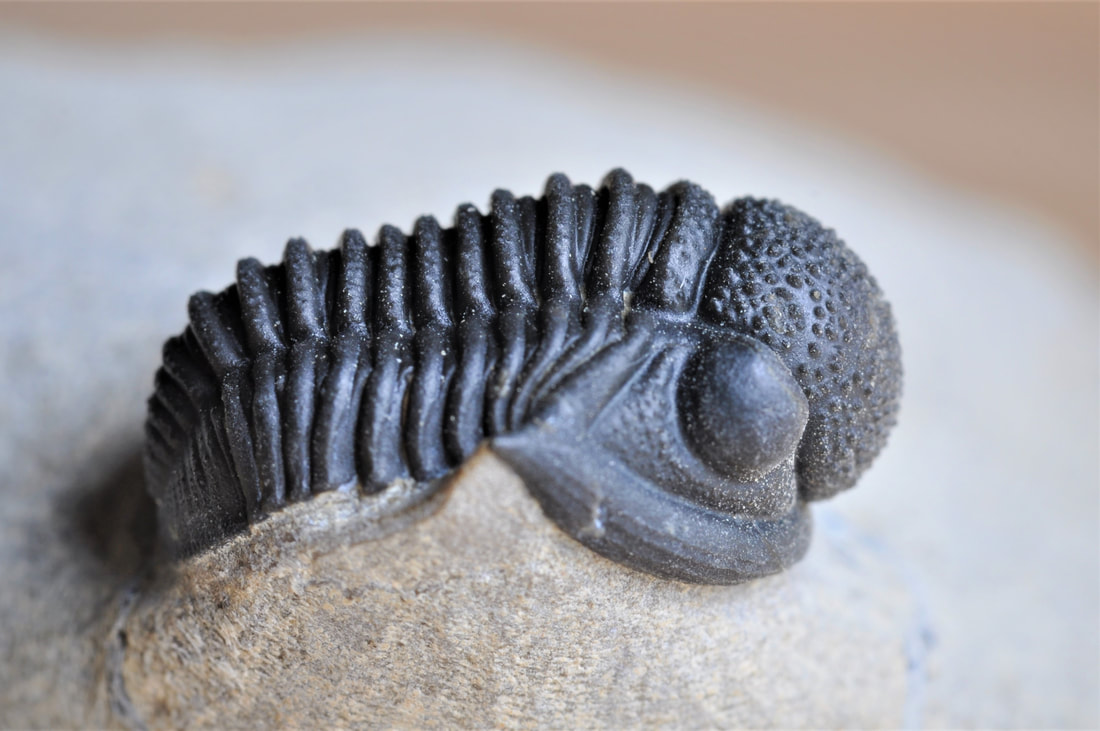
The remaining rock in between the segments will be removed by fine needles and micro blasting techniques. The dorsal spine reaches beyond the trilobite posterior margin, so it can be left on some sort of pedestal for support. Finally, the matrix will be flattened using the side of a flat pneumatic needle to provide a nice finish. The finished specimen is shown at the bottom of this page. |
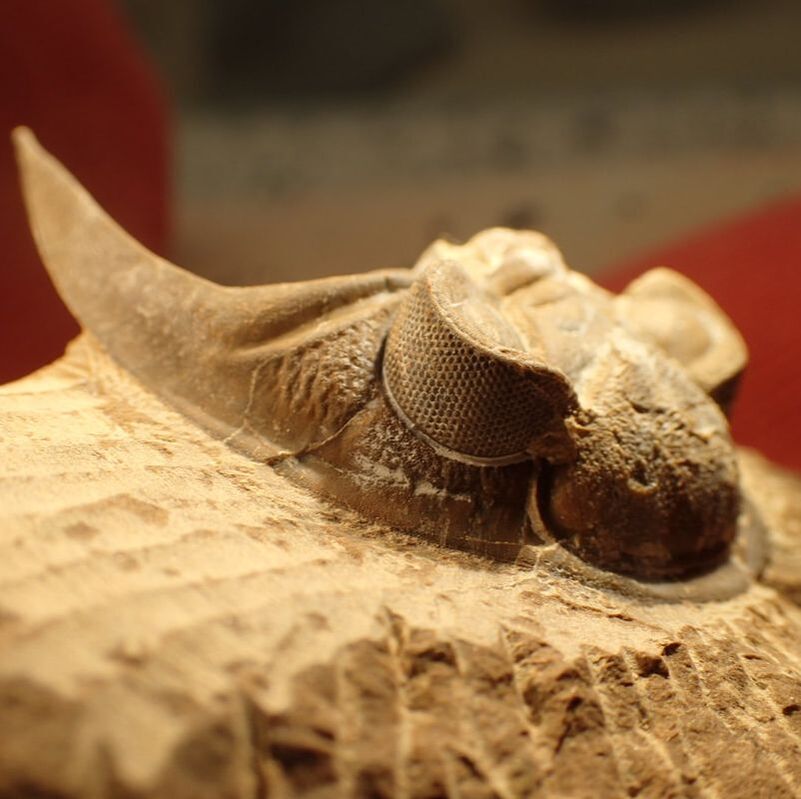
This general preparation technique can be applied to most trilobites embedded in limestone. Some preparations are particularly challenging, e.g. of spiny trilobites, or trilobites in hard or sticky matrix. For these preparations to be successful, the preparator applies a wide range of creative solutions. This underlines the importance of exchanging knowledge and best practices among fellow preparators.
What's under the microscope?
Here you can catch a glimpse of some stuff we are currently working on.
Preparation demo
|
In order to give preparations demo's on location, we built a mobile fossil preparation lab that allows visitors to follow live preparations. The demonstration includes a full pneumatic setup for fine mechanical preparation under a binocular microscope. We are continuously working to improve this experience, e.g. by using a USB microscope to allow people to follow the preparation up close. Our current setup also contains a plexiglass front and built-in illumination to give a unique view on the preparation process.
|
